Click for larger images.
Last Updated: Mar 9, 2003.
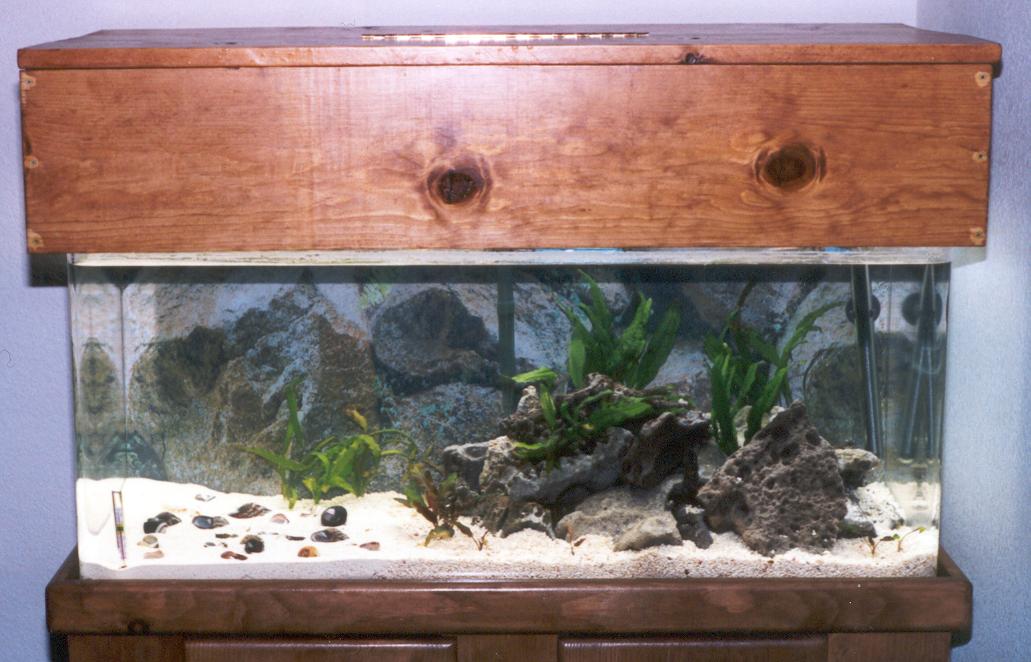
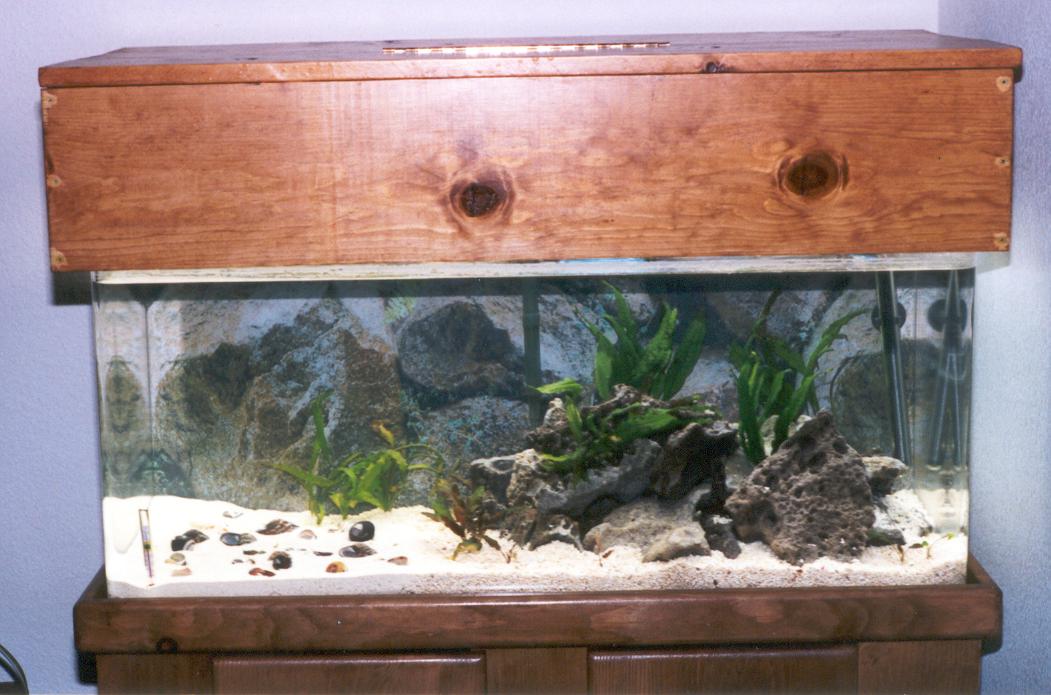
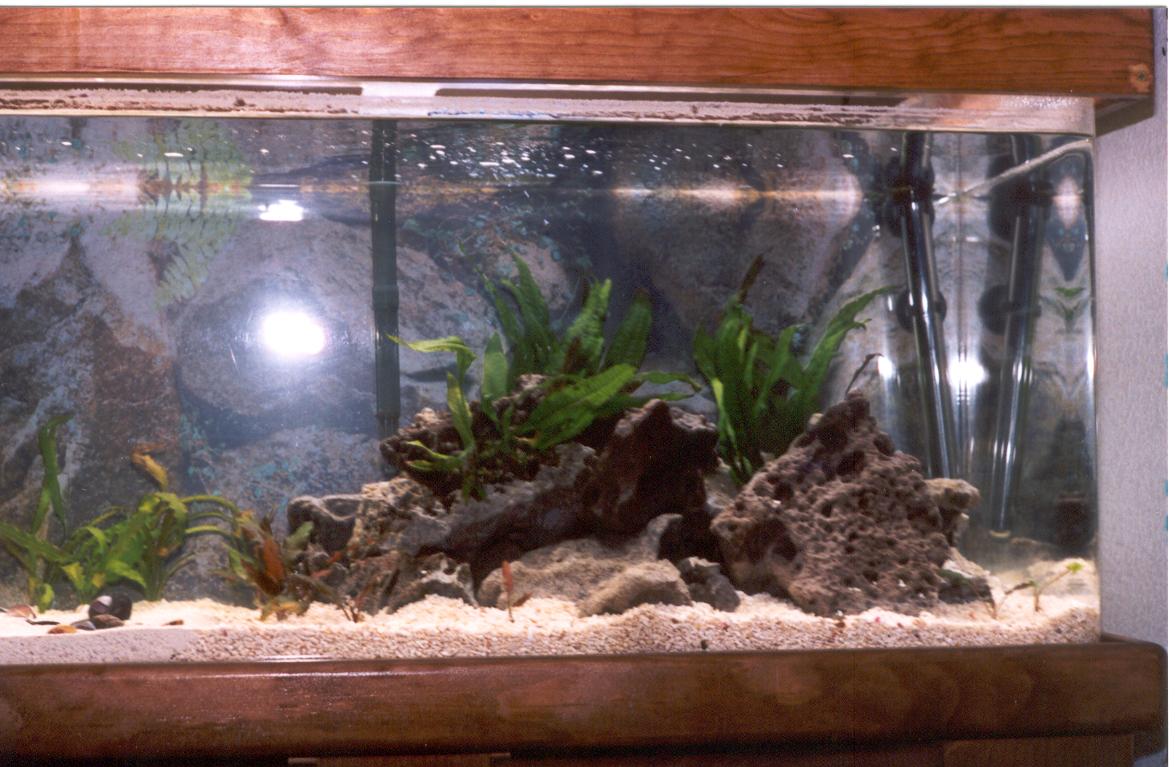
This is my page about my 40 gallon rift lake tank. The tank was started on Nov 4, 2002. The tank is an acrylic tank. Originally I was planning on glass, but the only store with 40 gallon glass tanks in stock had damaged tanks (chipped, air bubble in glass, etc). The stand is store-bought, but the canopy was designed and built by me. More details on the plans are given below. Unless in the Updates section, most images are from when the tank was newly set up.
Tank Equipment |
Tank Vitals |
Tank Inhabitants |
|
|
|

|
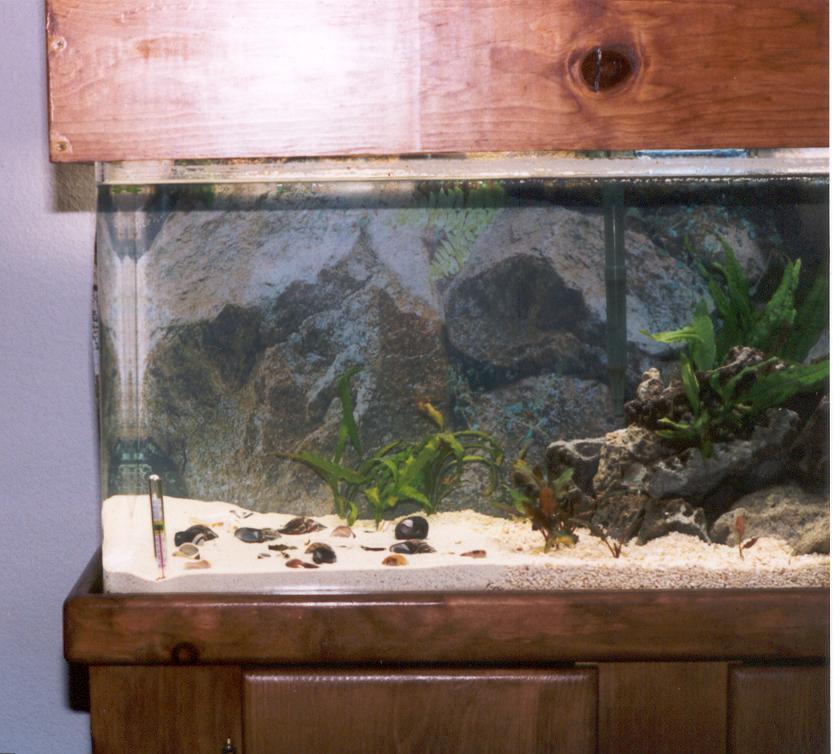
This tank was designed to house Tanganyikans, particularly shelldwellers on
the left and rock dwellers on the right. The shellbed on the left consists
of 15 pounds of sugar-fine aragonite sand and nearly 2 dozen shells of
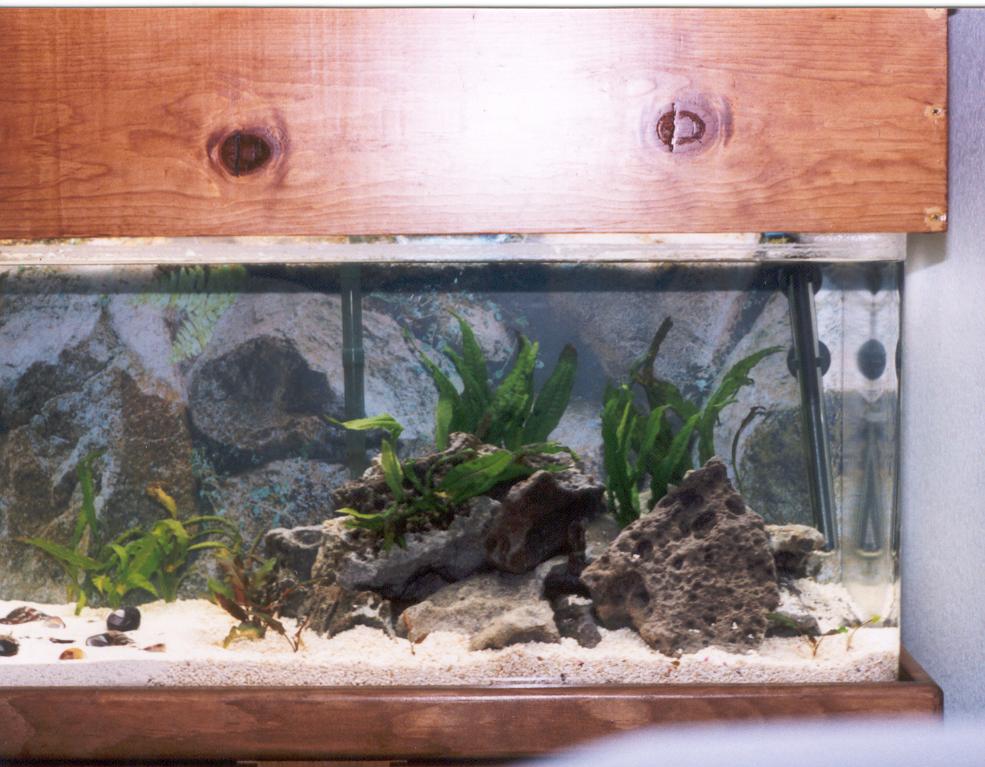
various sizes. The rock pile is 35 pounds of lace rock on top of 20 pounds of
crushed coral sand. There is also eggcrate underneath the rock pile to save
the acrylic from many scratches and to distribute the weight.
Since my tap water has a bit of nitrates in it, I also wanted plants in the tank. There are currently 4 large java ferns attached to various parts of the rock pile, multiple Cryptocoryne wendtii "red" around the rock pile and 3 Aponogeton bulbs along the back. I put Flourish tabs in the crushed coral at the appropriate intervals for the crypts and Aponogeton bulbs. I also dose the tank with Flourish, Flourish Potassium and Flourish Iron. Light is supplied by one 2x36watt compact flourescent kit and one 13watt compact flourescent kit purchased from AH Supply. The lights are on a timer for a 11 hour lighting cycle. CO2 is supplied by a Nutrafin CO2 system (added in Dec 2002). This is not quite enough CO2 for a tank of this size, but I don't want to lower the pH too dramatically. This seems to be adequate CO2 for the plants as they have spouted like weeds. Compare the original setup pictures to the Updates section below to see this. |
|

| ||
|
I am currently (as of Jan 19, 2003) still planning to add 4-6 juvenial Julidochromis transcriptus "Gombi" to the rock pile, but I have to wait a bit until the similis settle their turf wars. Right now, the dominant pair have control of the shellbed and are only letting the unpaired female enter their "territory" (aka the shellbed). The other pair of similis have taken to the rock pile as their home because of this. I don't really want to add the transcriptus while the second pair is hiding out in the rocks. The Cyprichromis are also taking turns running through the rock pile. A few sleep down there at night. It's a popular place I suppose. The Cyprichromis school is a bit unsettled right now because I ended up with equal numbers of males and females. The dominant male is being a bit spastic with all the other males in the tank, so I might end up selling/trading two of the subdominant males to keep the peace. |
|
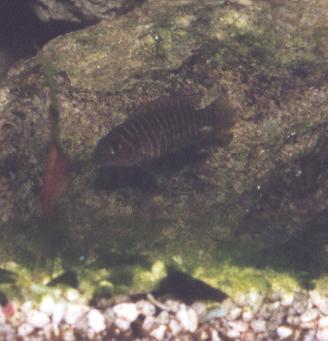
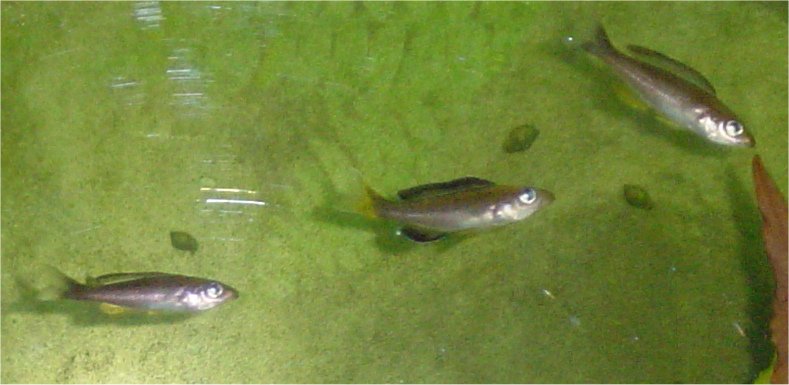
Jan. 22, 2003:
I borrowed my roommate's digital camera and got a few pictures of the tank
inhabitants. Here's a picture of three
of my Cyprichromis. There's a male in the center and the other two I believe
are females (at least they haven't changed into male coloration yet).
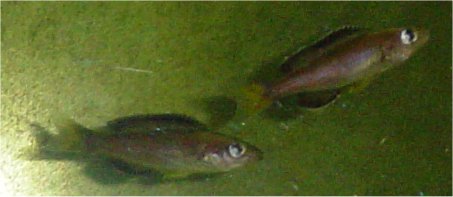
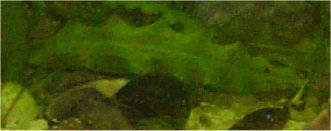
Here's a picture of two of the
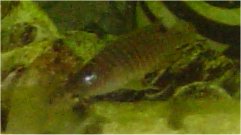
Cyprichromis males. This is a picture
of one of the N. similis, I believe the male of the dominant pair.
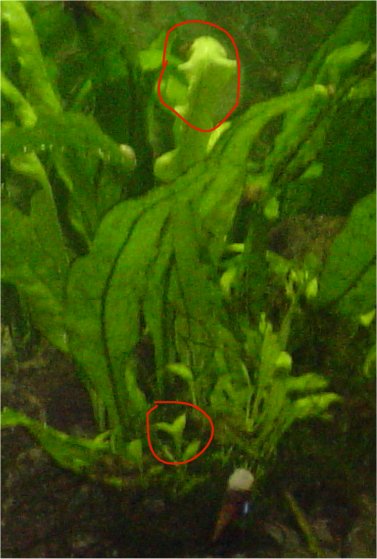
And here's a couple more pictures of the plants having problems. The
java ferns are experiencing
odd leaf shapes on the newer leaves, as the two red circled parts of the
picture show. The aponogeton bulbs
also have some holes and brown spots on the leaves which you can somewhat see
in this picture.
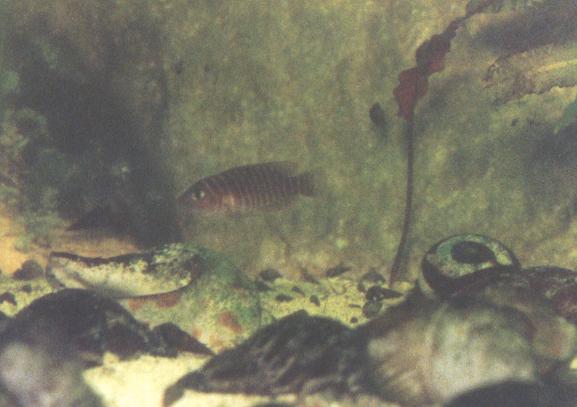
Mar. 9, 2003:
My dominant similis pair had fry a few weeks ago. At highest count, there have
been 5 fry seen at once, although I see only 4 at once now. At first, the fry
stayed in the mother's shell. After a few days, one of the fry migrated to the
father's shell. Then the parents brought over a few empty shells and placed
them next to their shells, I assume for the fry. The fry have actually ignored
those shells, but some of the fry have moved into a couple of shells that were
vacant and adjacent to the parents' shells. Right now I know 4 of the shells
are inhabitted by fry and I think the unseen 5th fry is still around and
sharing a shell with another fry since I occasionally see two dart out of the
same shell at once. Interestingly, one of the fry seems to be darker and more
aggressive than the rest. I'm not sure if it will continue to be darker as it
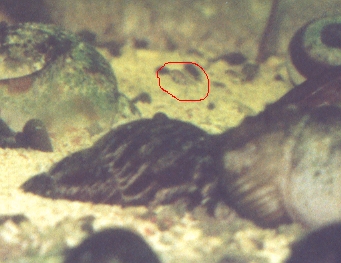
grows older or not. I tried to take some pictures of the fry, but they are
still small. Here's two of the best results. I've circled the fry in red to
distinguish it from the sand and snails.
This is a picture of a fry hovering
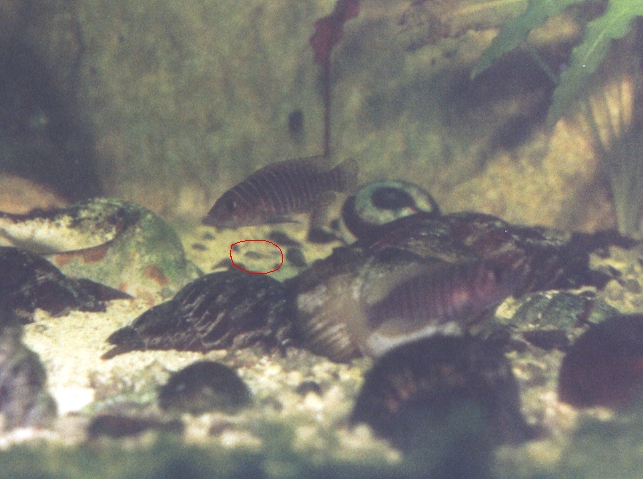
over the mother's shell. This
is a picture of the mother and one of the fry, again over the mother's shell.
In the foreground, you can see the unpaired similis hovering over her shell.
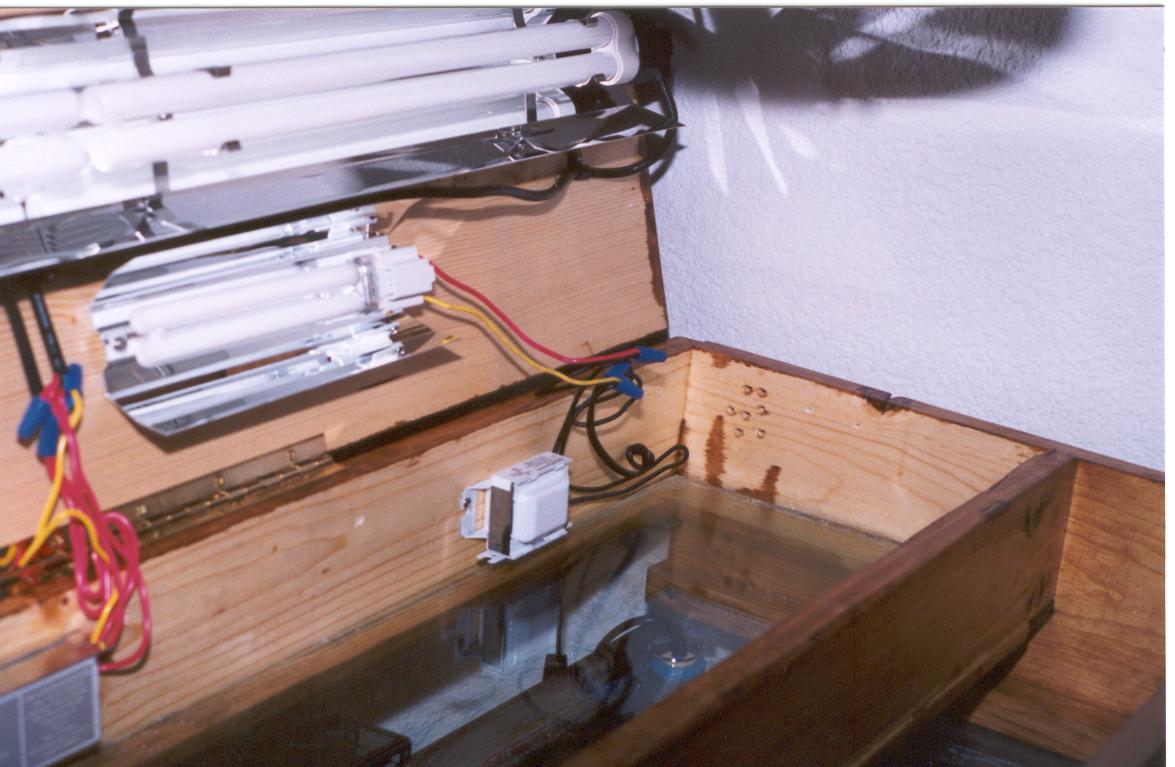
I used pine for the canopy and stained everything except the light box to match the stand. One important thing to note if you want to stain pine, use a pre-stain conditioner. I tested one piece of wood (the inside of the front lid) without the conditioner and it resulted in a very splotchy stain job. Using the conditioner resulted in a much nicer stain. I did not clean up well after the wood glue at certain points, so the stain did not take around the screws (hence the lovely light spots). I am attempting to find some sort of coverup for these little blemishes.
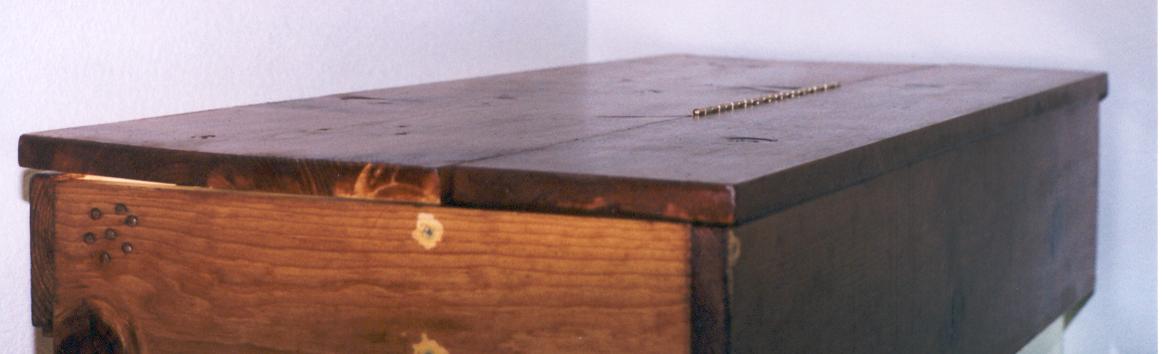
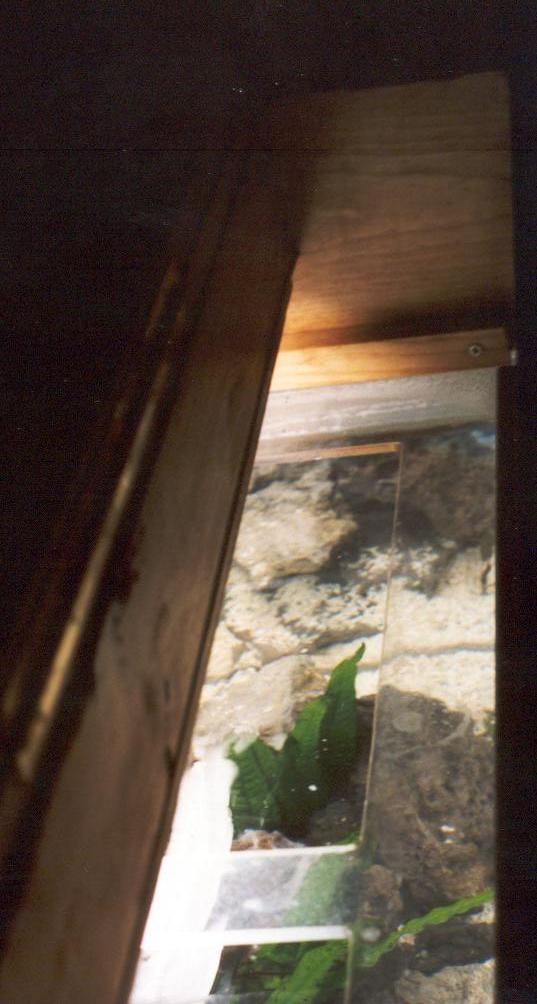
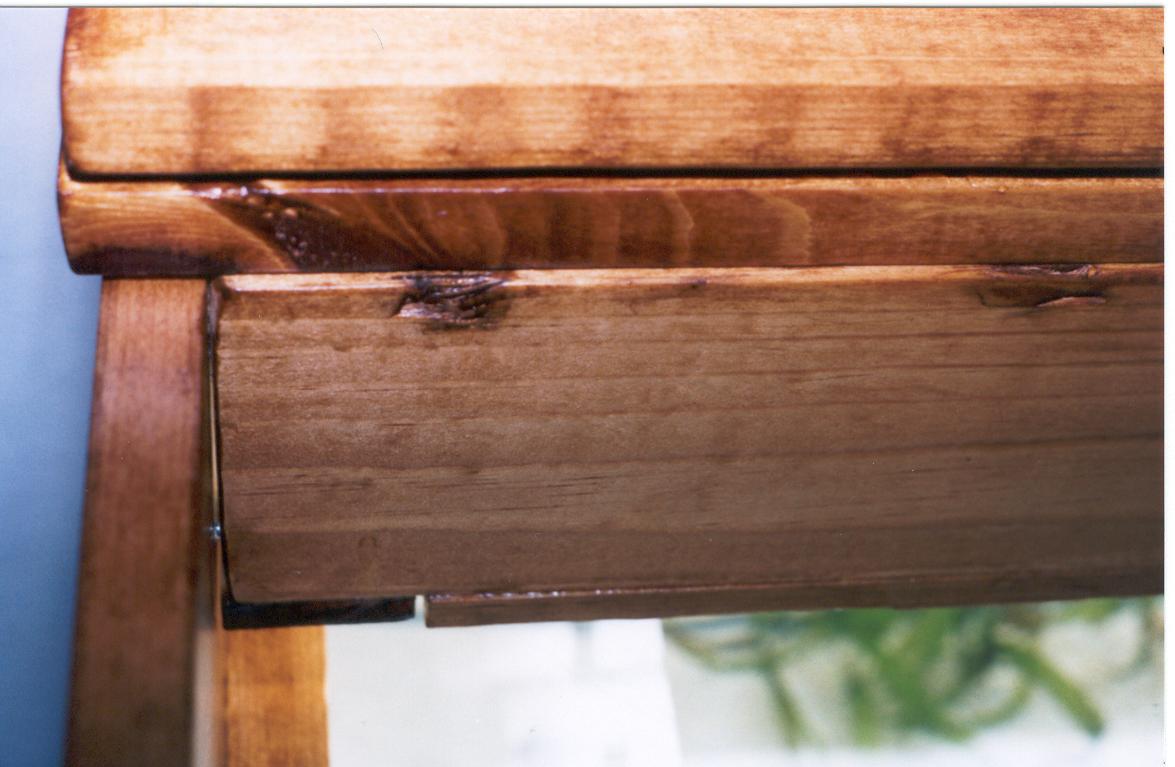
| The first main feature I wanted was a double jointed lid. This provides me easy access to the tank and the lights. When the lid is fully closed, there is only a small gap between the two parts. The hinges on the lids are 12" brass piano hinges. This may be overkill, but I like stability. One change I made from the plans is somewhat apparent in the left image. Instead of putting the back piece inside the side pieces (as the plan shows), I put the back piece behind the side pieces. It turned out to be good I made this choice because the side piece againgst the wall is slightly warped and it would not have been easy to fit the back piece inside the side pieces. |

|
| Other changes I made from the original plans was to lengthen the inner "stand off" blocks that I used to support the canopy on top of the tank and to support the glass for the light box. I have the tank stand off blocks running most of the length of the sides and about 3/4 of the length of the front. The glass stand off blocks run the entire perimeter of the light box. This provides more support for the glass. |
|
When I have more free time, I will put up more exact plans including all measurements. For those of you who might think constructing a canopy is diificult, it isn't. I purchased the wood from a store which cut it to size for me (at no additional charge), so I didn't need a saw. The only tools I needed was a drill, screwdriver and pocket knife for the basic construction. A plane would have been nice as I used the pocket knife to shave a little off the inside brace because it was a tad too long. I was able to construct the whole thing on my own, although having a partner to hold pieces in place would likely have made things go a little faster. Overall, the construction took about a week, but most of that time was spent in the staining and sealing phase, since I had to wait 8-10 hours between coats.
The estimated costs (USA dollars) for the canopy are: $15 for the wood, $5 for the glass, <$1 for the wood screws, $10 for the hinges, $5 for the pre-stain conditioner, $5 for the stain, $5 for the sealer, $3 for wood glue, $5 for silicon sealant, $2 for the silicon feet and $5 for brushes. This brings the total cost to a little over $60. This is much better than $120 for a store-bought canopy.

36W Ballast
|
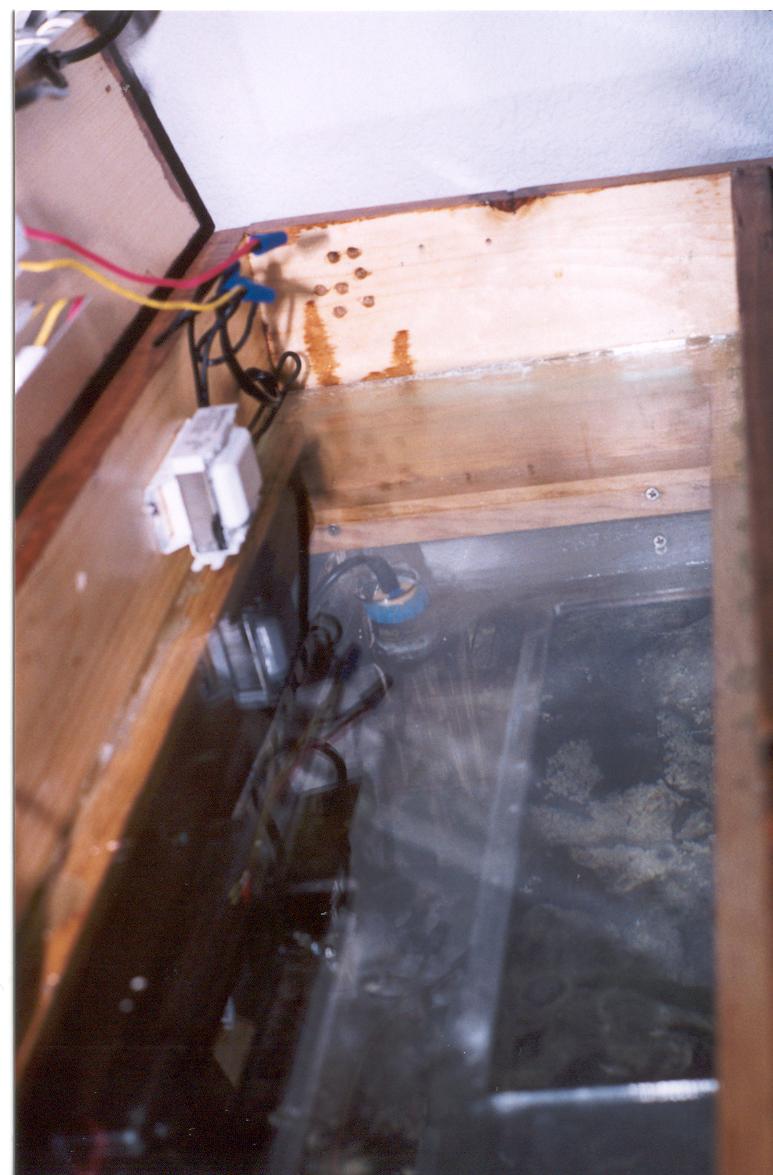
First I screwed the ballasts into place along the back panel. Then I
screwed the reflectors into place along the lid. It was a little tricky
to get the nylon spacers to stay in place while screwing on the 2x36W
reflector, but not impossible. Next, I measured the wire lengths and
cut them. I then had a fun and interesting time trying to strip the
wires on the 36W endcaps, which was essentially double insulated. One
cut finger and an hour later, I was really wishing I had wire strippers.
The ballast wires and 13W kit wires were actually easy to strip with
the scissors, but the rest were a bit tiresome. I actually had cut the
a little long, but I did not discover this until after I had spent all
the time stripping the 36W endcaps, and I did ever so not want to go
through that process again, so I left them a little long.
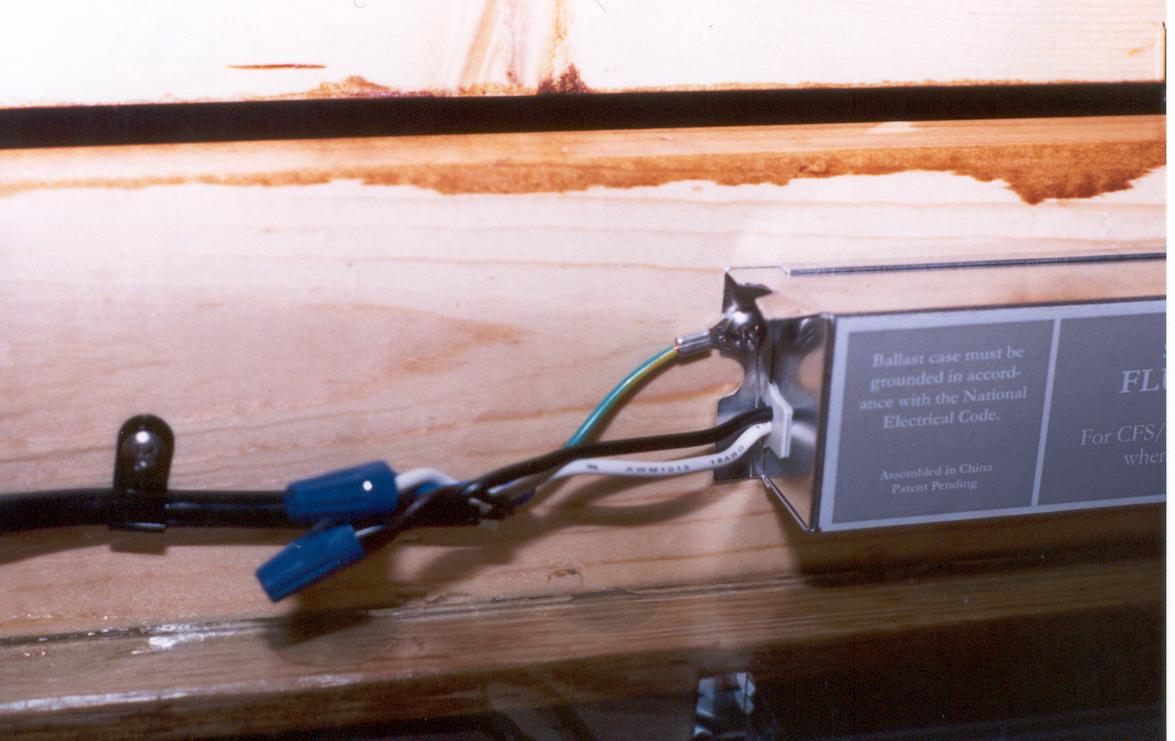
From this point onwards, it was fairly simple. I first wired up the 36W kit following the directions. My only issue here was I had no clue what the directions meant by crimping the ground wire from the power cord to the provided eyelet. A little Google searching later and I discovered this meant to cut the wire so that it just barely goes through the "tunnel" of the eyelet and then pinch (aka "crimp") the "tunnel" until the wire cannot be tugged out. A crimping tool or jewelry tools are pretty much a must here. My standard pliers didn't crimp the eyelet enough to prevent the wire from being tugged out, although I do have weak upper body strength. I found some jewelry pliers in my roommate's toolbox which were able to crimp it however. Here's a closeup of the power end of the ballast. The green and yellow wire is the ground wire. After I finished with the 36W kit and tested that it worked, I moved on to the 13W kit. This also was fairly simple. I just followed the directions without any issues. After all the kits were wired up, I used the provided cord clamps to route the cords and wires so that they wouldn't touch the 13W reflector when the lid was closed or come between either reflector and the glass. |
13W Ballast
|
I purchased two digital heavy duty timers to control the lights and set the light cycle to about 11 hours. The timers just barely fit in my power strip by putting one at each end of the strip with the filter and heater cords between. I use the 13W light as a dawn/dusk simulator. It comes on 15 minutes before the 36W lights and goes off 15 minutes after them. I have a combo 10,000K/dark blue bulb in the 13W socket and two 5300K bulbs in the 36W kit.
I also use an indoor/outdoor digital thermometer ($15 at the local Target) to monitor the temperature inside the light box. I simply placed the "outdoor" sensor inside the light box and fed its wire out the gap between the lid and canopy. With the current lighting and an ambient temperature of about 80F (~27C), the light box gets to about 101-104F (~38-39C). This doesn't seem to raise the tank temperature much, although I have noticed that the heater hasn't gone on much at all since the lights have been installed.
